

2026 Update Rollup 1
Cluster Installation
Installing the Failover Clustering Service:
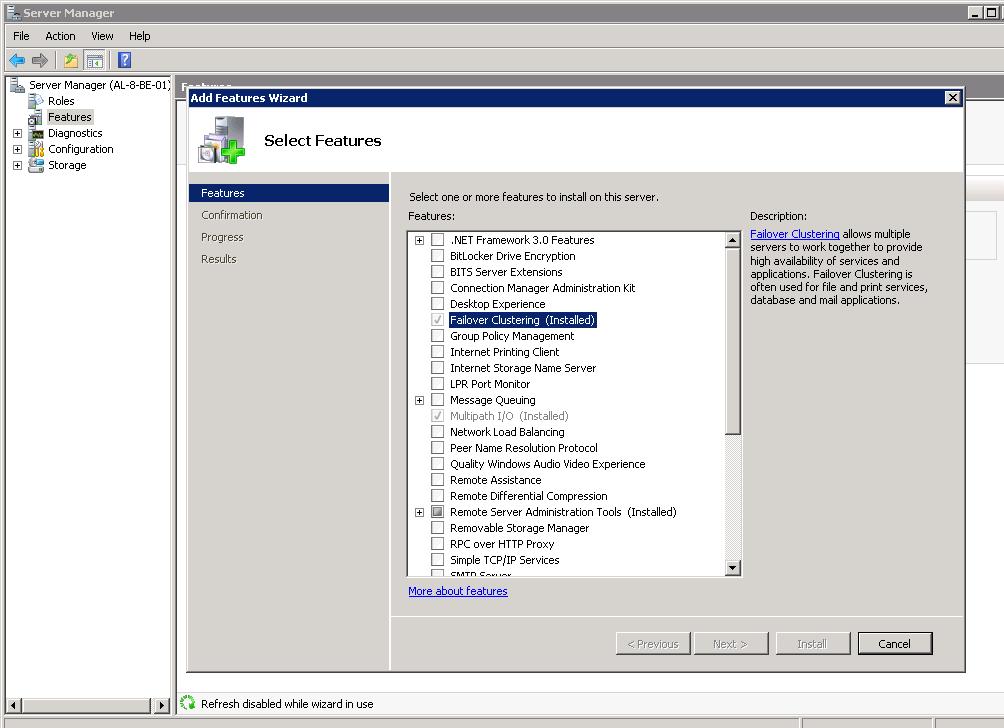
Install the server feature “Failover Cluster Management” using the “Add Feature Wizard”.
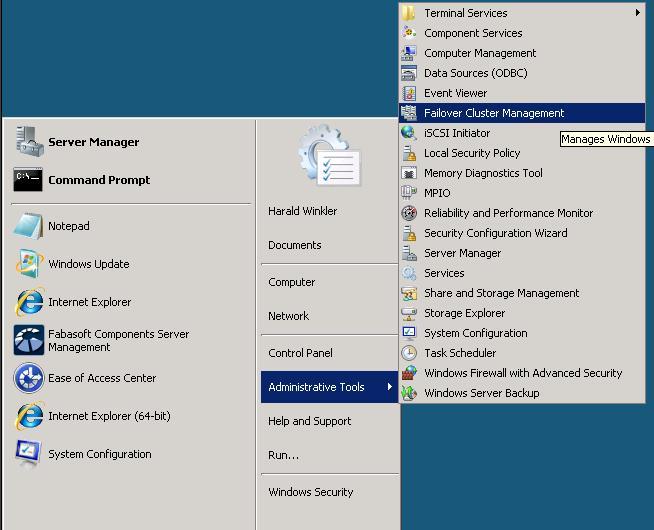
After the “Failover Cluster” feature is installed correctly you can find the new feature in “Administrative Tools” in the “Start” menu.
Installing the Cluster
To install the cluster, perform the following steps:
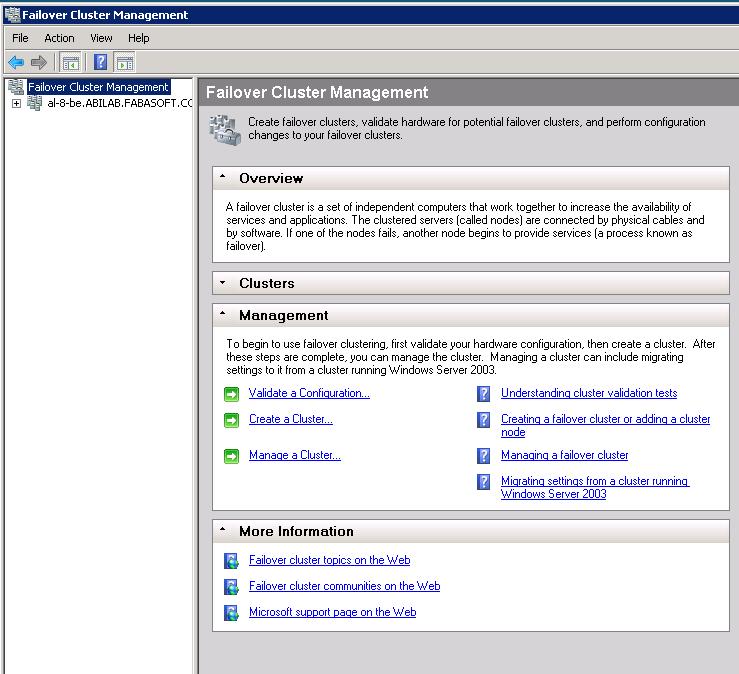
- Open the “Failover Cluster Management”.
- Create a new failover cluster click “Create a Cluster”.

The “Create Cluster Wizard” will start and provide a wizard that guides you through the installation of the failover cluster.
- Specify the cluster nodes. Enter the host name of a server that you wish to cluster and click “Add” until at least two or more servers are selected. Click “Next”.

- Specify the cluster name and the cluster IP address. Click “Next”.

- Validate the settings and click “Next”.
The cluster validation test will start, which verifies that the configuration that you made is sufficient for creating a failover cluster. - After the cluster validation test is finished you can review the result of the test and by clicking “Next” the cluster configuration will finish.