

Configuring a Work Station
Microsoft Windows Registry
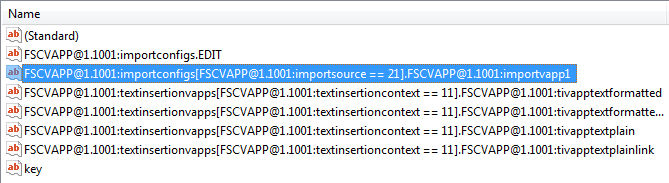
Make sure that the Fabasoft Folio Printer Port entries are available in the Microsoft Windows Registry. The entries (with FSCVAPP@1.1001:importsource==21) are written into the Microsoft Windows Registry of the work station when connecting to a Fabasoft Folio Domain with the Fabasoft Folio Web Client.
HKEY_CURRENT_USER\Software\Fabasoft\FabasoftFolioCX19\<baseurl>\<useraddr>\config

Fabasoft Folio Printer Ports
To be able to use the Fabasoft Folio Printer Ports to call applications defined in Fabasoft Folio (see chapter “Configuring Fabasoft Folio”) a new port type has to be created on the work station. The “Fabasoft Folio 2019 Print Import” port type provides four Fabasoft Folio Printer Ports.
Create a New Port Type (Microsoft Windows 10)
This chapter describes how to create a new port type on Microsoft Windows 10.
To create the “Fabasoft Folio 2019 Print Import” port type, perform the following steps:
- Unzip Setup\ComponentsBase\Client\FolioPrintImportWin32.zip or Setup\ComponentsBase\Client\FolioPrintImportWin64.zip (which can be found on the Fabasoft Folio installation media) to an arbitrary folder. Use the 32 bit or 64 bit version depending on the operating system of the work station.
- Execute mmc in a command line, to open a Microsoft Management Console.
- Add the “Print Management” snap-in.
- Press the “Add the Local Server” button and klick “Finish”.
- On “Print Management” > “Print Servers” > “work station” > “Ports” execute the context menu command “Add Port”.
- Click “New Port Type”.

- Browse to the fscprintimportmonitor.inf file that has been unzipped in the first step and click “OK”.
The “Fabasoft Folio 2019 Print Import” port type is now available. - Click “Cancel”.

The ports are now available. Continue to configure a corresponding printer as described in chapter “Create a New Printer (Microsoft Windows 10)”.
Create a New Printer (Microsoft Windows 10)
To add a new printer that uses a Fabasoft Folio 2019 Printer Port, perform the following steps:
- Add a new local printer via the “Printers & scanners” Dialog.
- Choose “The printer that I want isn’t listed” after searching for new printers.
- Select “Add a local printer or network printer with manual settings”.

- As port select the Fabasoft Folio Printer Port (e.g. “FabasoftFolio191”).
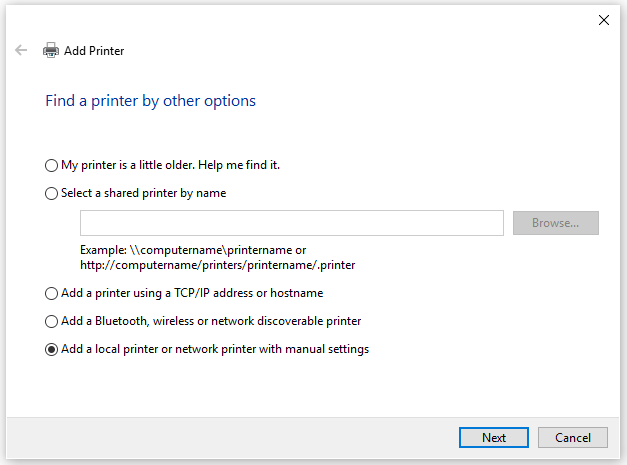
- Select an arbitrary PostScript printer and click “Next”.
Note: The selected PostScript printer is used to create PostScript files of your documents, which are converted to PDF files with the Fabasoft Folio Conversion Services.
The created PostScript files must be compatible to the third-party product (e.g. Ghostscript) that is used by the Fabasoft Folio Conversion Services for the conversion. Depending on the used PostScript printer, documents with long file names (about 150 characters) may not be converted. - After carrying out all steps of the wizard a new printer is available. Whenever you print documents on this printer the configured Fabasoft Folio application is started and in case of the FSCPOSTSCRIPT@1.1001:UploadFileFromPrinterApp application the PDF file is put on the Fabasoft Folio desk.
Note: When using Microsoft Windows 8.1 or 10 make sure to use a “V3 print driver” and not a “V4 print driver”. Using a “V4 print driver” will result in following error message: “Unable to install printer. Double check the printer name and make sure that the printer is connected to the network.”