

Deploying Microsoft Installer Packages with Microsoft Windows Active Directory
Microsoft Installer packages may be assigned to users and/or computers within a group policy object. To install the Microsoft Installer packages the packages have to be available for users. Therefore create a file share in the file system and copy the Microsoft Installer packages to this file share. Afterwards specify the corresponding rights for users, who need to install packages from this file share.
Attention: The deployment of all Fabasoft MSI packages has to be performed per machine (“Computer Configuration” folder).
To deploy Microsoft Installer packages with a Microsoft Windows Active Directory, perform the following steps:
- Start the “Active Directory Users and Computers” MMC snap-in (“Start” > “Programs” > “Administrative Tools” > “Active Directory Users and Computers”). This console is used to administer users and computers in a Microsoft Windows Active Directory.
- Navigate to the corresponding domain and create a new organizational unit (“New” > “Organizational Unit”).
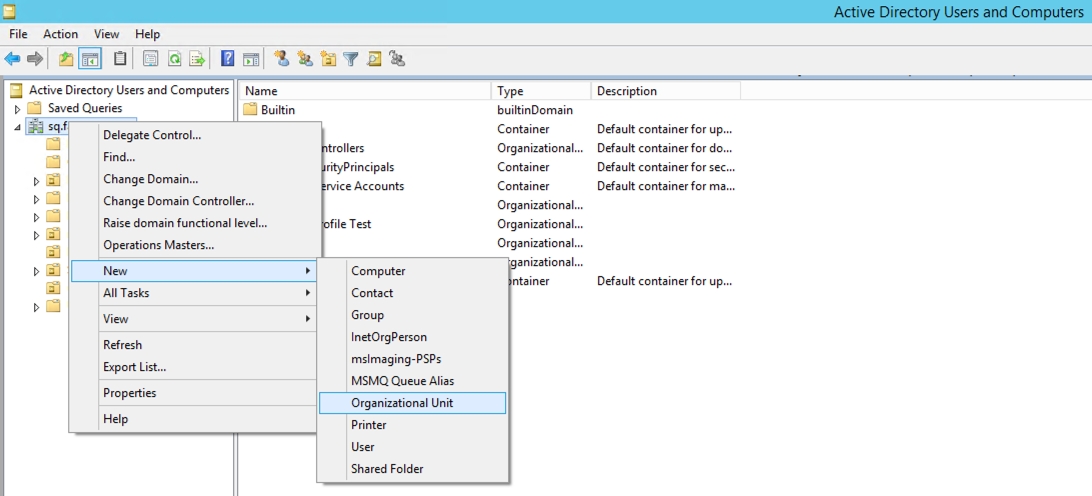
- Specify a name for the organizational unit and click “OK“.
To deploy Microsoft Installer packages to users or computers move user accounts or computers to that previously created organizational unit or create new user accounts within.
Note: The deployment of Microsoft Installer packages depends on the settings in the group policy objects. If deployment is defined per computer (“Computer Configuration” folder) the Microsoft Installer packages are assigned to the computers defined in the organizational unit. If deployment is defined per user (“User Configuration” folder) the Microsoft Installer packages are assigned to the users specified in the organizational unit.
To move users or computers to an organizational unit, perform the following steps:
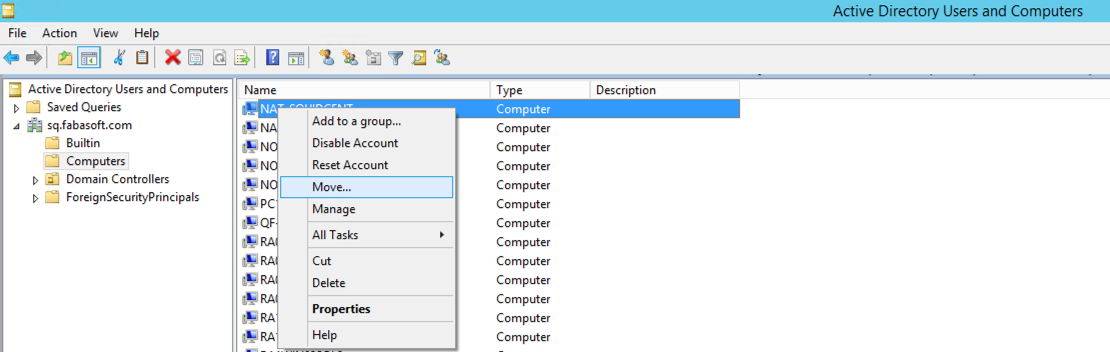
- Navigate to the “Users” folder and select the users that should be moved. To move computers to an organizational unit, navigate to the “Computers” folder and select the computers that should be moved.
- Open the context menu and click “Move”.
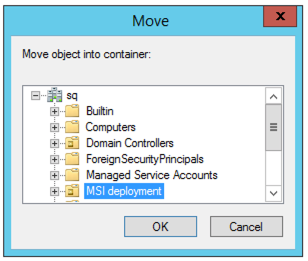
- Select the organizational unit where these users or computers should be moved to and click “OK”.
To create the group policy object, perform the following steps:
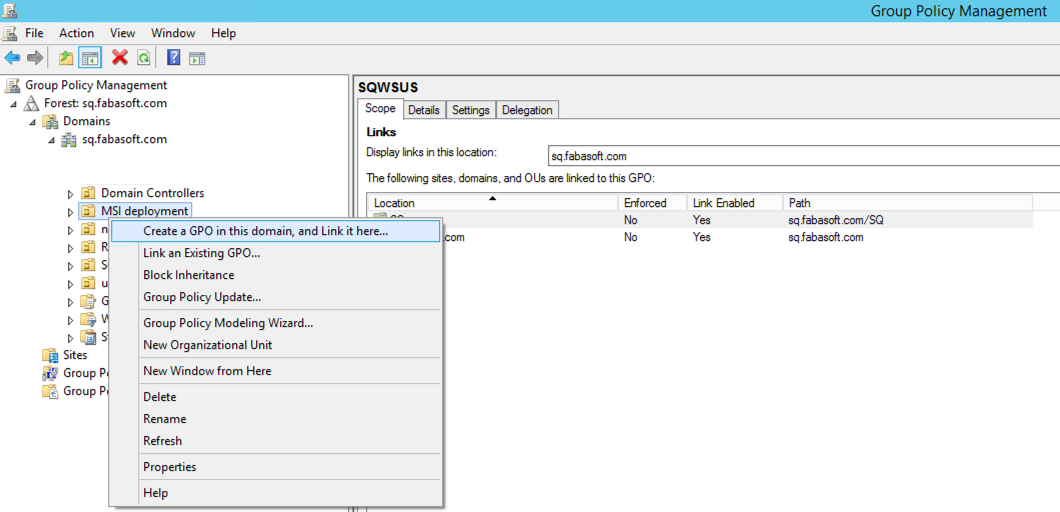
- Open the “Group Policy Management” console.
- Navigate to the organizational unit the users or computers were moved to and select “Create a GPO in this domain, and Link it here…” in the context menu.
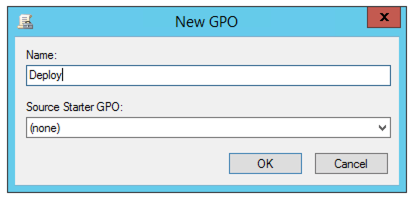
- Specify the name of the group policy and click “OK“.
- Select the Organizational Unit and on the right pane and open the context menu on group policy object created before, and choose “Edit”
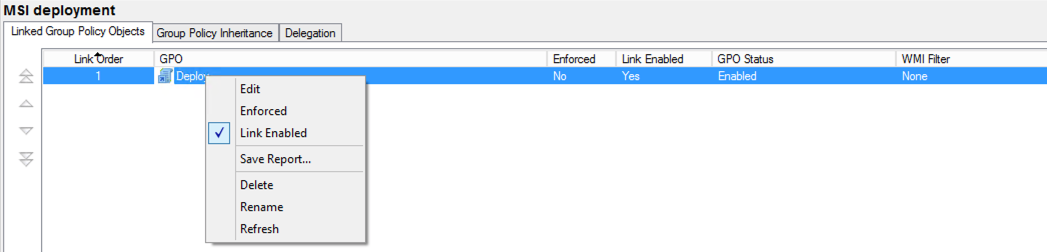
- The “Group Policy Management Editor” is opened.
In the Group Policy Management Editor new software packages can be added. Perform the following steps:
- Navigate to the “Software installation” node of the “Computer Configuration” root folder.
- Open the context menu and click “Properties”.
- Verify that the Display the Deploy Software dialog box option in the New packages area is selected. So the deployment type can be chosen during the creation of a new package. Basic should be selected in the Installation user interface options.
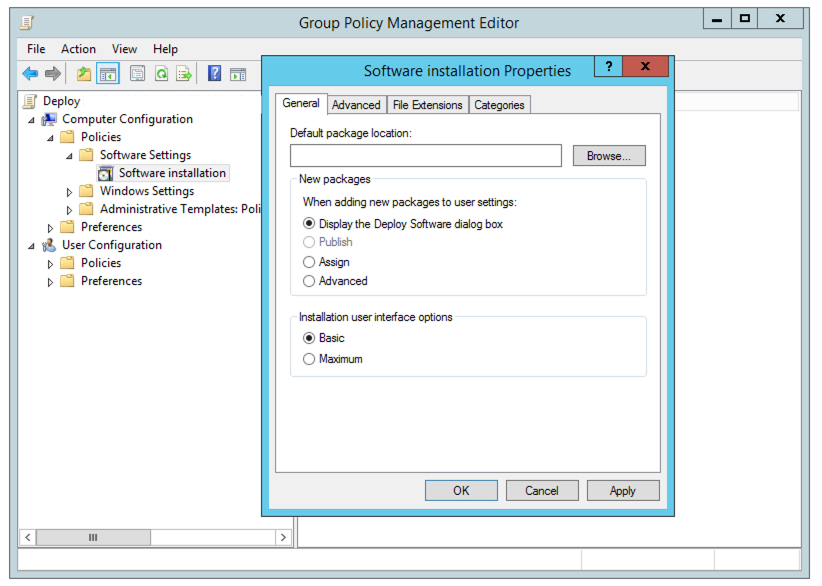
Click “OK” to close the “Software installation Properties”. - Create a new package in the “Software installation” node of the “Computer Configuration” root folder (“New” > “Package”). Browse to the Microsoft Installer package in the file share. Choose Assigned as the deployment type.
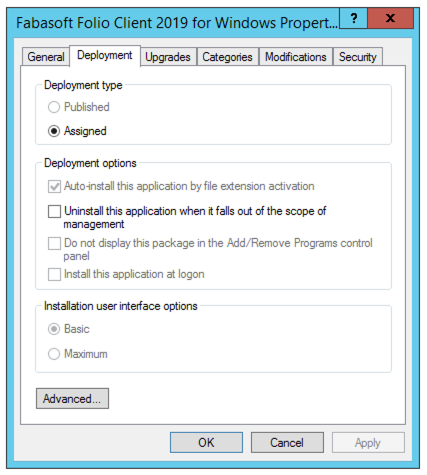
- Select the new package in the “Software installation” folder and open the properties of the package. Navigate to the “Deployment” tab and verify that the option Assigned is selected. Basic should be selected in the Installation user interface options.
- To ensure that the Microsoft Installer package can be installed, when a computer is booted or a user logs on, an administrative template has to be configured. Navigate to the folder “Windows Installer” in the “Windows Components” folder in the “Administrative Templates” folder of the “Computer Configuration” or the “User Configuration” node respectively. Edit the properties of the template “Always install with elevated privileges”.
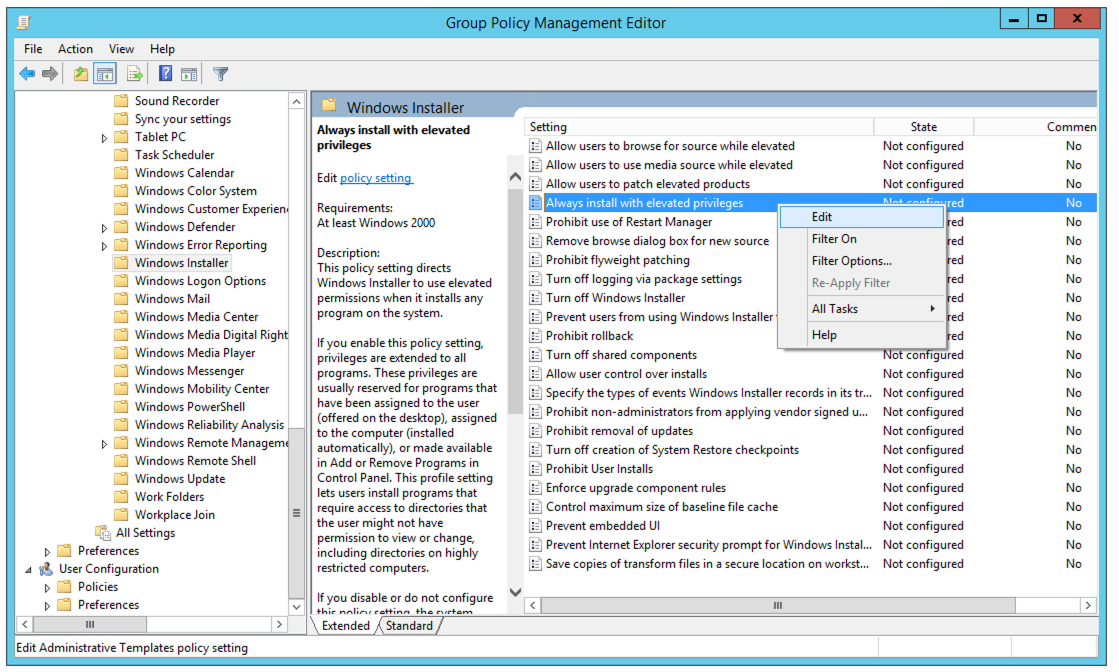
- Select Enabled.

- Depending on the deployment type the Microsoft Installer package is installed or only made available on the computer:
- If a Microsoft Installer package is assigned to a computer, the package will be installed when booting the computer.
- User-published Microsoft Installer packages are made available to a user when the user logs on. Publishing a Microsoft Installer package to a user means that the user receives permissions to install it at a later time.
Note: To force an immediate assumption of the defined group policies execute gpupdate or secedit (depending on the operating system) in the command line on the client machine. To view a group policy log execute gpresult via the command line.